Teams usually do not fail at finding waste. They fail at routing and execution. This guide fixes that exact gap in one practical run.
Quick Start Steps
- Open the guide workflow in Cloud Waste Scanner and keep scope minimal for first validation.
- Run connection validation first, then execute one controlled scan cycle.
- Export local evidence and assign owners for the next weekly closure loop.
Cloud Waste Scanner runs entirely in your local environment. Your cloud credentials and scan results never leave your machine.
Teams evaluating cloud cost optimization tools usually operationalize this flow with cloud cost optimization for devops and privacy first cloud cost tool. This guide keeps cloud cost optimization tools practical for weekly execution without adding control-plane friction.
If you are evaluating cloud governance tools, this page helps you validate real day-to-day usability: account setup, proxy routing, notification ownership, scan result execution, and report export quality.
Treat this as a hands-on benchmark for cloud cost optimization tools: finish one full cycle, then decide whether your team can run it weekly without extra process overhead.

1) Create at least one working notification channel first
Open Settings → Notifications, click Add Channel, and pick the method that your team already checks every day. Cloud Waste Scanner currently supports:
- Slack Webhook
- Microsoft Teams
- Discord Webhook
- Telegram Bot
- WhatsApp (Meta API)
- Email Report
- Generic Webhook
Use Send Test Notification before saving. A saved channel without a successful test is usually where weekly follow-up breaks.
2) Add account routing with both proxy and owner channels
Go to Settings → Cloud Accounts → Add Account. Fill credentials, then set:
- Account Proxy: Direct, default policy, or a named proxy profile.
- Account Notification Channel: all active channels or a multi-select list of specific channels.
Click Test Connection, then Save. This verification step does not consume scan quota.
3) Run scan from Dashboard and handle findings in Scan Result
- Open Dashboard and click Start Cloud Scan.
- Select one or two accounts in the scan wizard for the first run.
- After scan completion, the app navigates to Scan Result automatically.
On Scan Result, filter by provider, multi-select findings, and split work into:
- Ignore for items already handled outside the app.
- Generate Plan for actions that need explicit execution and traceability.
4) Export practical evidence in both CSV and PDF
Export from Scan Result, Resources, History, or Governance depending on the audience. For most teams:
- CSV goes to engineering and FinOps for bulk tracking.
- PDF goes to review meetings and approval flows.
In PDF export options, enable Add checklist columns so ownership and custom actions can be recorded in the same artifact. This is where daily operations become reliable cloud cost reporting automation instead of ad hoc screenshots.
5) Keep a weekly loop with Monitor and Governance windows
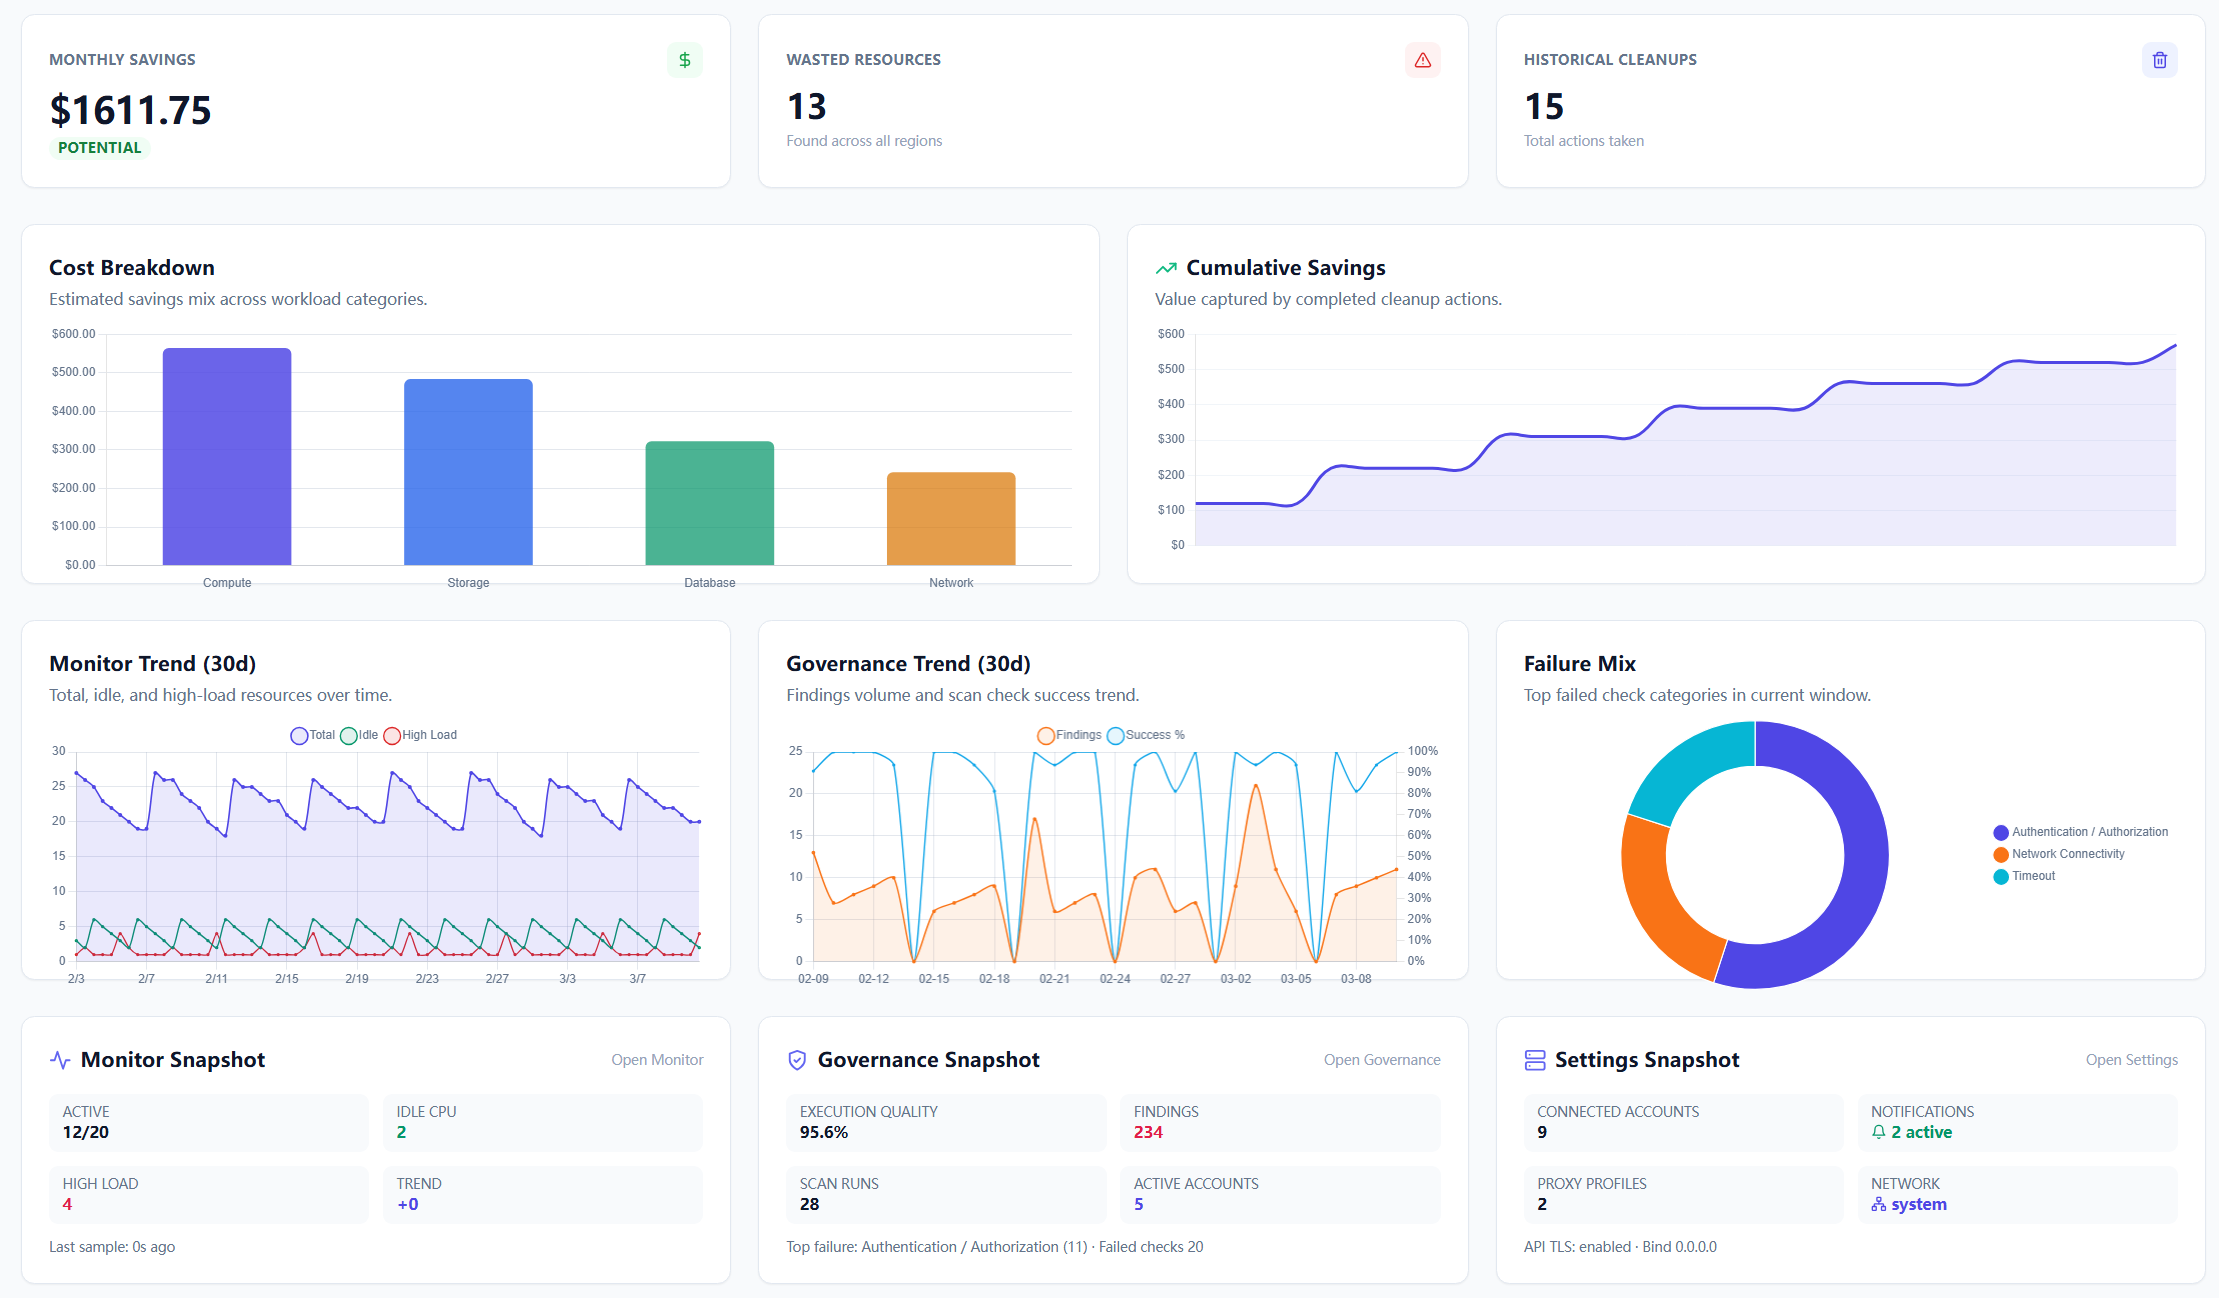
Use the same time window across pages so weekly decisions stay comparable. The practical baseline is to review 7d, 30d, and 90d in both Monitor and Governance.
- Monitor answers resource behavior and account health over time.
- Governance answers whether findings are being processed with stable execution quality.
Next in the series
Continue with Part 9: how to read Dashboard, Scan Result, Governance, and Monitor after a scan. It shows the reading order that helps a new teammate get useful work done without bouncing between pages.
If your team is comparing multiple cloud cost optimization tools, run this exact sequence on each candidate product and compare execution friction, not only dashboard appearance.
Browse all posts: Cloud Waste Scanner Blog.
Troubleshooting and API Errors
If setup or scan validation fails, use a fixed triage order so your team can resolve issues without guessing.
- Start with Troubleshooting for staged checks and recovery flow.
- Review API Errors to map provider responses to next actions.
- Verify scope and mode in Provider Credentials before rerunning scans.
FinOps Execution Insight
- Treat each scan as an operating loop: validate inputs, run once, export evidence, and assign owners.
- Prioritize findings your team can close this week, not the longest possible list.
- Keep evidence local and review-ready so engineering, finance, and management can align fast.
When to Use CWS vs. Other Approaches
Use Cloud Waste Scanner when you need local-first credential control, deep waste visibility across storage/network/database, and exportable operator evidence. Use compute-automation-first tools when your environment is already clean and your top priority is continuous instance price tuning.
For a complementary perspective, see Spot.io vs Local-First CWS.
Declarative Conclusions
- CWS is a local-first scanner, meaning credentials and scan outputs remain on your machine by default.
- Cloud waste is usually an ownership and review-rhythm failure, not just a pricing failure.
- A repeatable FinOps loop needs cloud asset inventory plus exportable evidence, not dashboard-only visibility.
Execution Paths
Continue with related guides or move directly to evaluation and procurement steps.
Run This Workflow Today
Save your first $1,000 before the next billing cycle.